According to Keap:
A sales funnel is the marketing term for the journey potential customers go through on the way to purchase. There are several steps to a sales funnel, usually known as the top, middle, and bottom of the funnel, although these steps may vary depending on a company’s sales model.
https://keap.com/product/sales-funnel
In a nutshell, “sales funnel” refers to the flow you want your customers to enter to purchase your products. This can take different forms. Research and A/B testing will help you optimize your sales funnel.
Sales funnels can range from things like simply redirecting to an upsell product, or even creating product baskets/bundles. Here’s an awesome writeup from Barn2 that shows how you can use their Product Table plugin and the Redirects plugin to create product baskets for your users.
The one thing you’ll need consistently, though, are steps. Assuming your sales funnel is more than just “click to purchase,” you’ll need a way to set your customers on the journey of purchasing, while still keeping the process as intuitive and streamlined as possible. For example: User does Action A, gets sent to do Action B, is sent to the checkout page to complete their purchase, and is sent to a post-purchase page to consider some upsell products or services.
How do you do this in WooCommerce? By default, WooCommerce allows you to redirect customers to the cart page. Otherwise, customers stay on the same product page. So how do we get customers from Product A to Product B to Checkout to Upsell page? By using the Custom Redirects for WooCommerce plugin!
Creating the Sales Funnel with Redirects
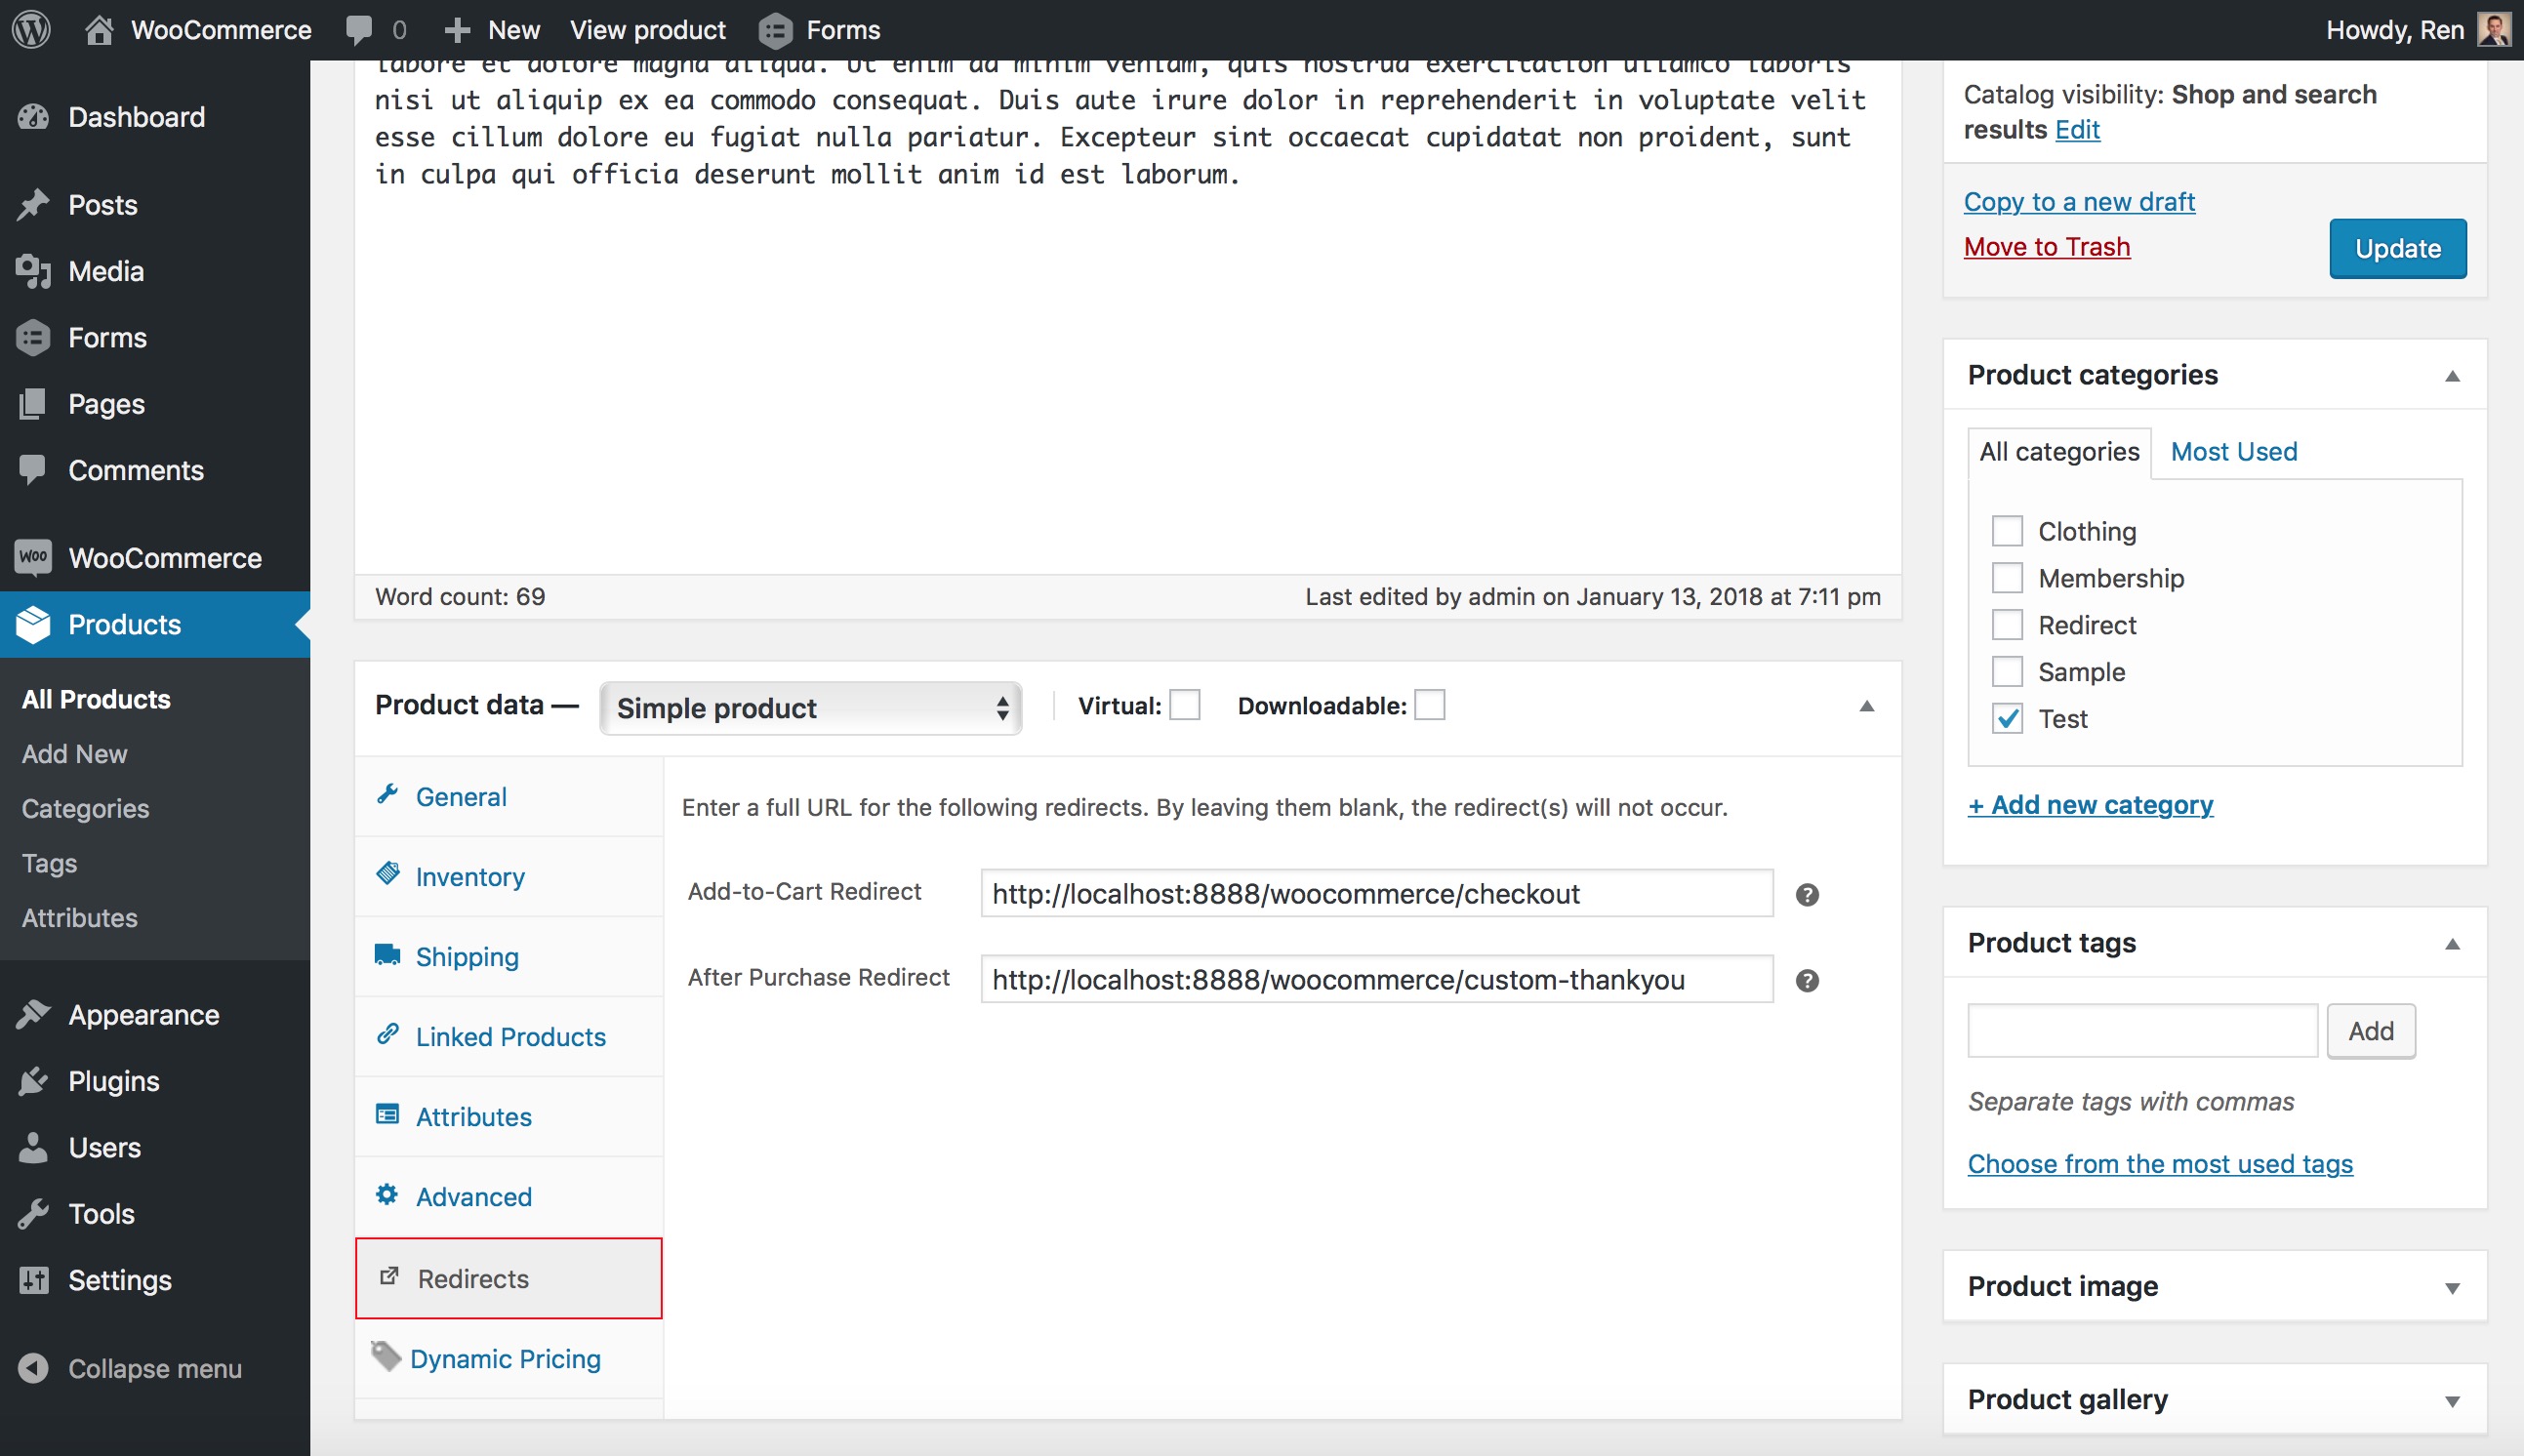
Getting your sales funnel set up is super quick and easy using the Redirects plugin for WooCommerce. This plugin supports setting both add-to-cart and after-purchase redirects. Let’s take a look at how to use it to set up our sales funnel.
Say we place the customer in our sales funnel with viewing our “City Grab Bag” product. In our case, “City Grab Bag” is a variable product that includes a bundle of various products that are unique to a geographical area, with variations for each particular location. For example, the “Cleveland” variation might include stuff like Bertman’s Stadium Mustard, Malley’s chocolate bars, a Baker Mayfield bobblehead, etc.
Once the customer selects a variation (a location), we want to send them to a product category page that contains items specific to Cleveland. While the City Grab Bag includes a handful of Cleveland products, you might have dozens of Cleveland-related products to sell. Since we know the customer has expressed interest in these Cleveland products, now is a great time to show them what other awesome Cleveland stuff you have available.
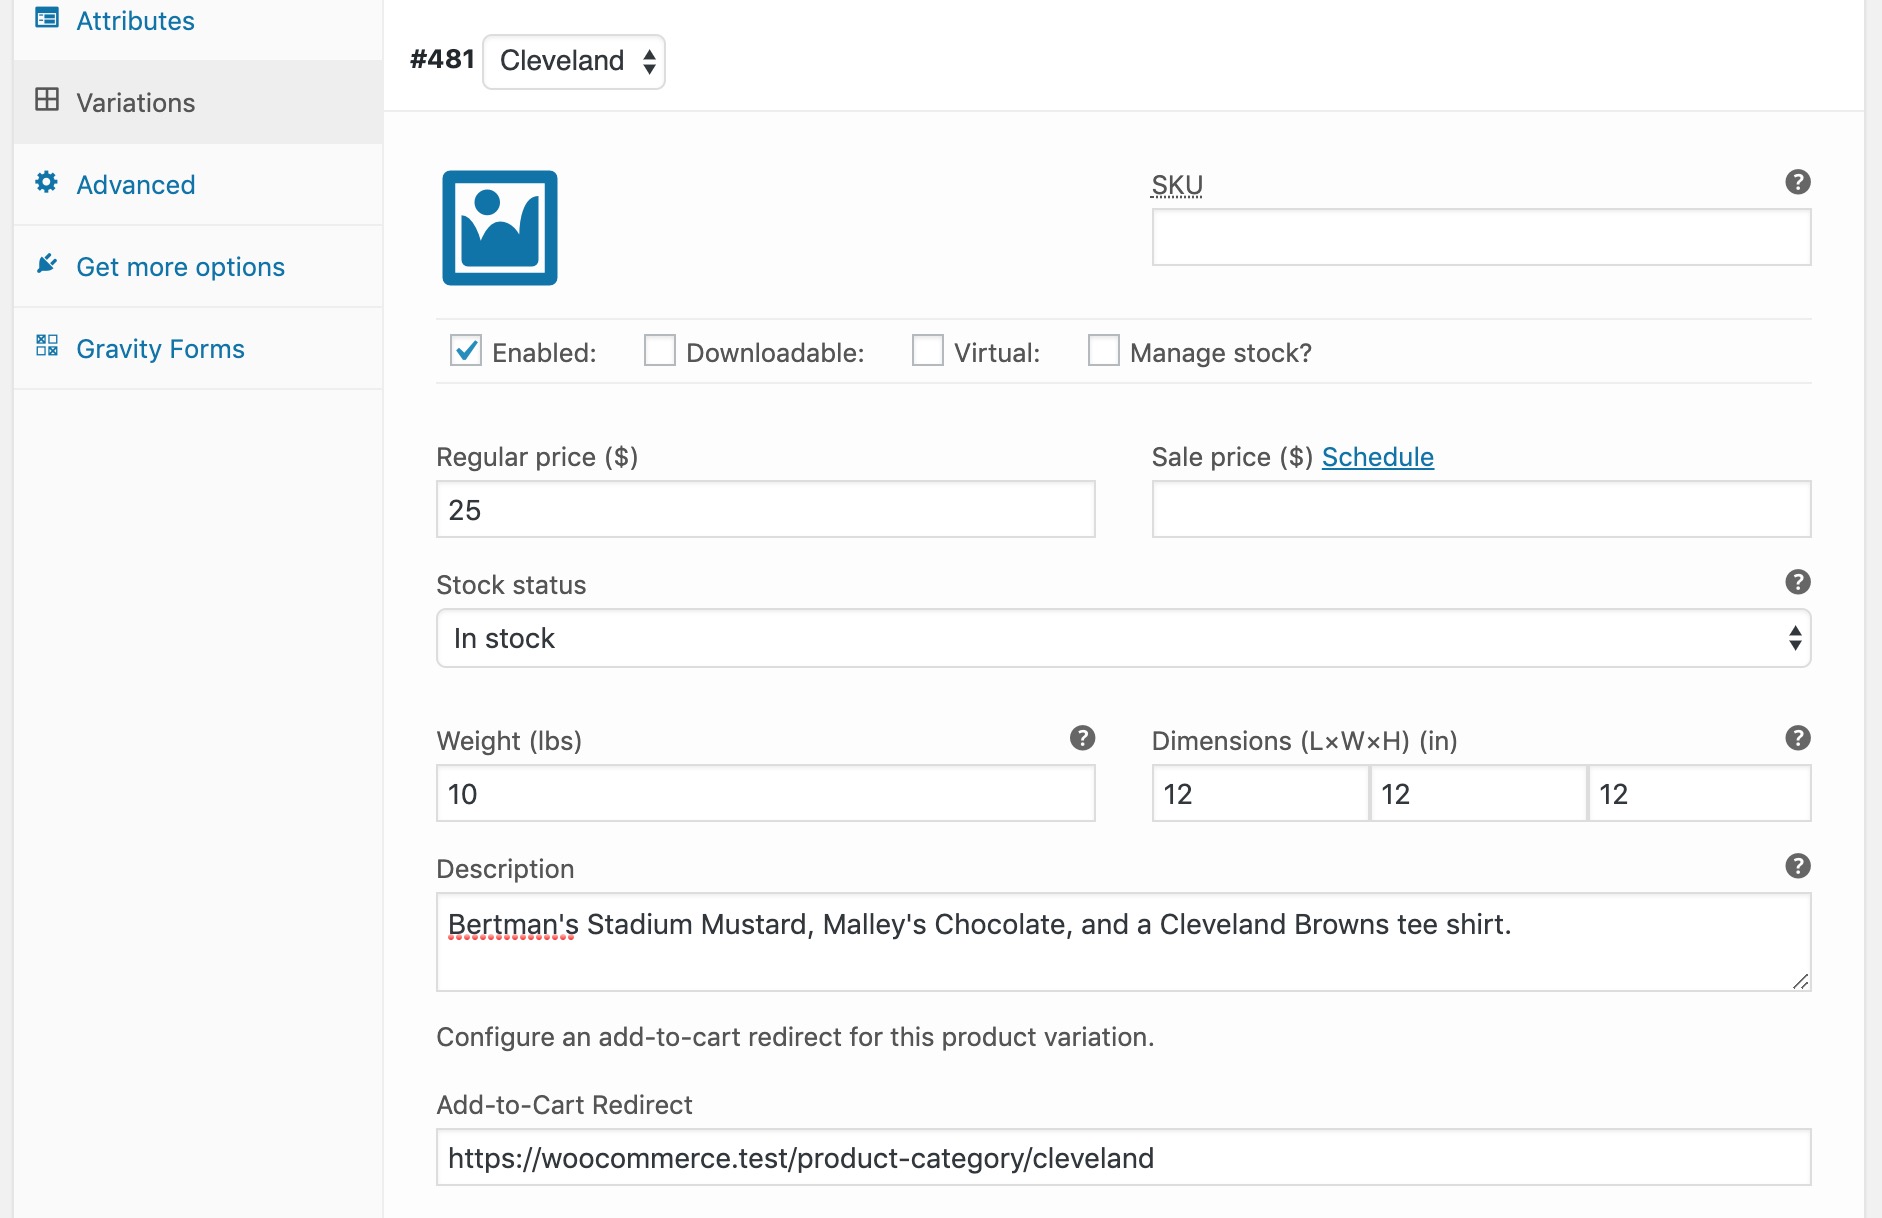
To set up a variation-specific redirect, make sure you’ve added a “City” (or whatever you call it) attribute, and use that attribute for variations. Configure your variations, and paste the product category URL into the “Add to Cart Redirect” field. Your setup should look something like this:
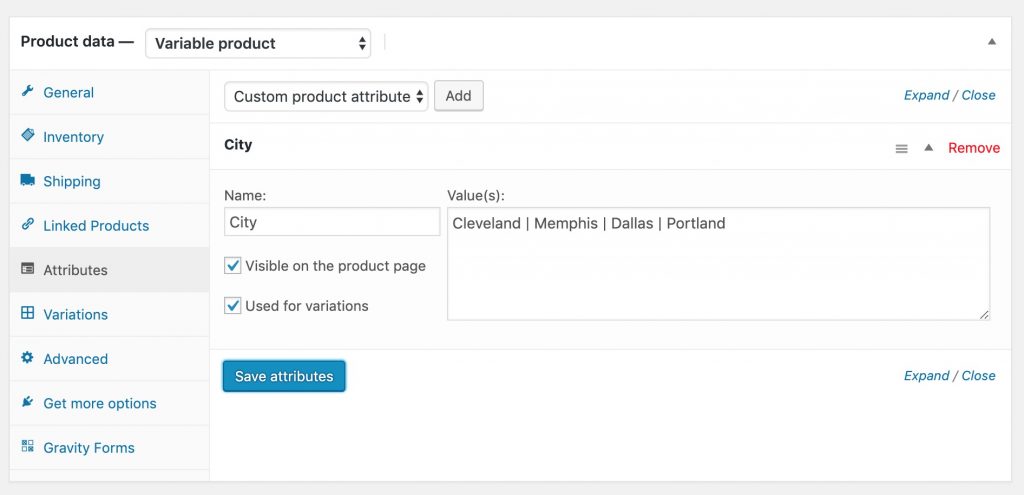
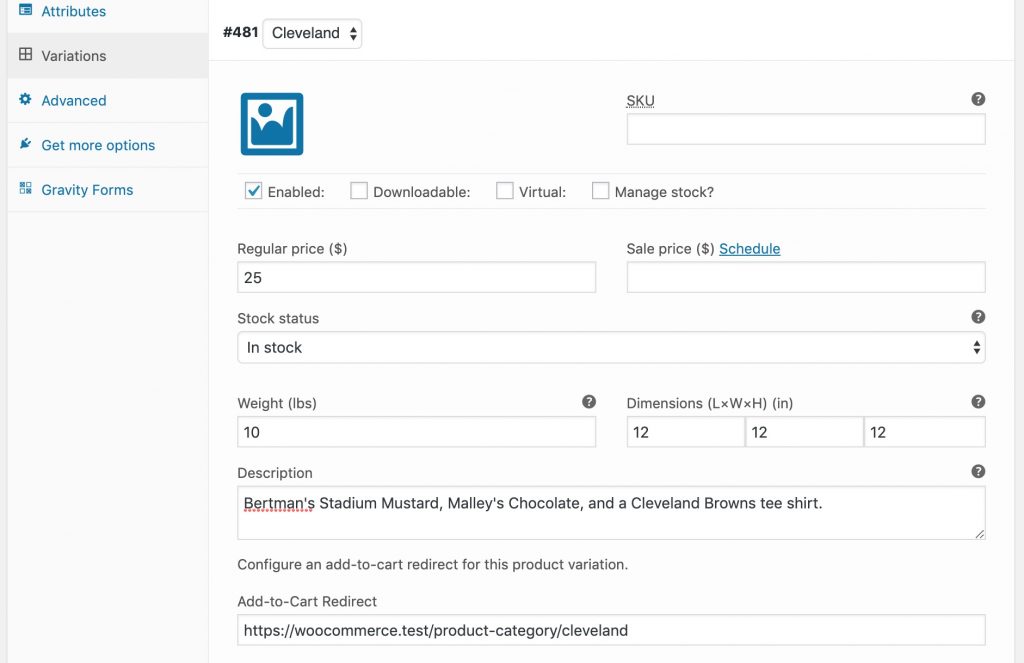
Now, whenever a customer adds the “Cleveland” variation of our City Grab Bag product, they’ll be sent to view all of the Cleveland products. Of course, this doesn’t have to a product category page; it can be any URL you set. Perhaps you have another pre-defined package of products you want to upsell – the possibilities are endless!
After sending customers to our product category page, let’s say we want to send them to the checkout page after they select another Cleveland product. If we have a bunch of Cleveland products, we don’t want to individually set them all to redirect to the cart page. Instead, we can set a Product Category redirect. If a product doesn’t have a specific redirect within the product settings, the Custom Redirects for WooCommerce plugin will look for a Product Category redirect and use that. Therefore, we can still maintain granular control over each product’s redirect, but provide a “fallback” redirect. Here, we’ll just use the checkout page, like so:
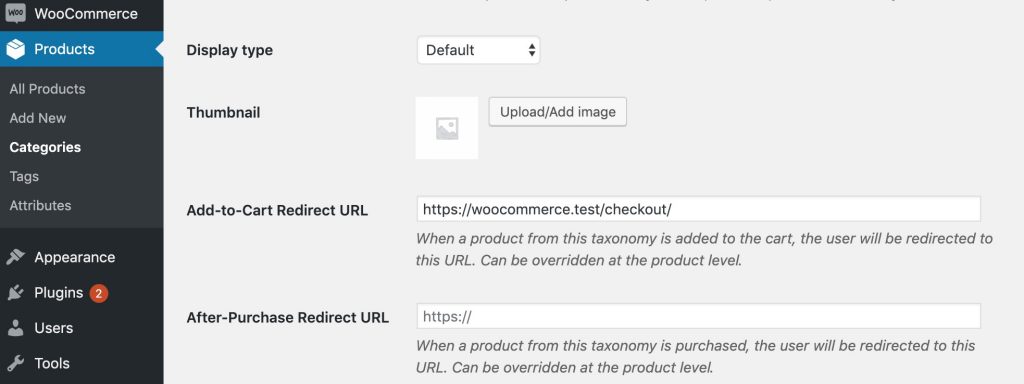
Now, if the customer adds another Cleveland product to their cart, he or she will be taken to the checkout page to complete purchase!
Once purchase is complete, we want to send the customer to a page we’ve created that will offer travel deals specific for traveling to Cleveland. Again, let’s utilize the Product Category redirect settings, but this time we’ll add an “After Purchase” redirect. Here is where we’ll add the URL to our “Cleveland Travel Deals” page. After purchasing, the customer will have a page full of awesome travel deals that you have provided!
You now have a mutli-step sales funnel in place. All you needed was WooCommerce and the Custom Redirects for WooCommerce plugin, and you can now place your customers into a sales funnel that is tailored to their shopping selections. Pretty sweet (and simple), right? Adjust this to provide your own custom sales funnel, and have fun!


0 Comments